Showing posts with label bathroom. Show all posts

Sunday, September 21, 2014

dark moody bathroom...

Happy First Day of Fall, friends!
  We had glorious weather over the weekend and ended with my favorite way to spend
 a Sunday ~ a family get-together to celebrate September birthdays, eat, and watch football.
 I also fit in time to finish up our dark moody bathroom, I'm loving the warm, cozy vibe
 for fall and winter.    


I've been smitten with Behr's Mined Coal, charcoal colored paint, since using it in one of
 my all-time favorite makeovers, Detail Boy's bedroom redo. I found some leftover, so I
 went with it on a whim one day. I envisioned a quick afternoon paint job, but after getting
 the first coat on I noticed the tape lines from the previous stripes were visible, so I had to
 go back and sand them all down...ugh!  


Awhile back I found this lion's head door knocker at Homegoods, I thought it would be 
a unique towel ring, and added some gold gilding to the ring. Of course, a new towel
ring calls for a new towel, a rich color with stripes and tassels, yes please. They have
 a great collection at World Market right now.    


On the opposite side of our DIY dresser turned vanity I hung one of my simply framed
flamingo prints. It had been in the dining room but made its way back to the bathroom
 to change things up.  
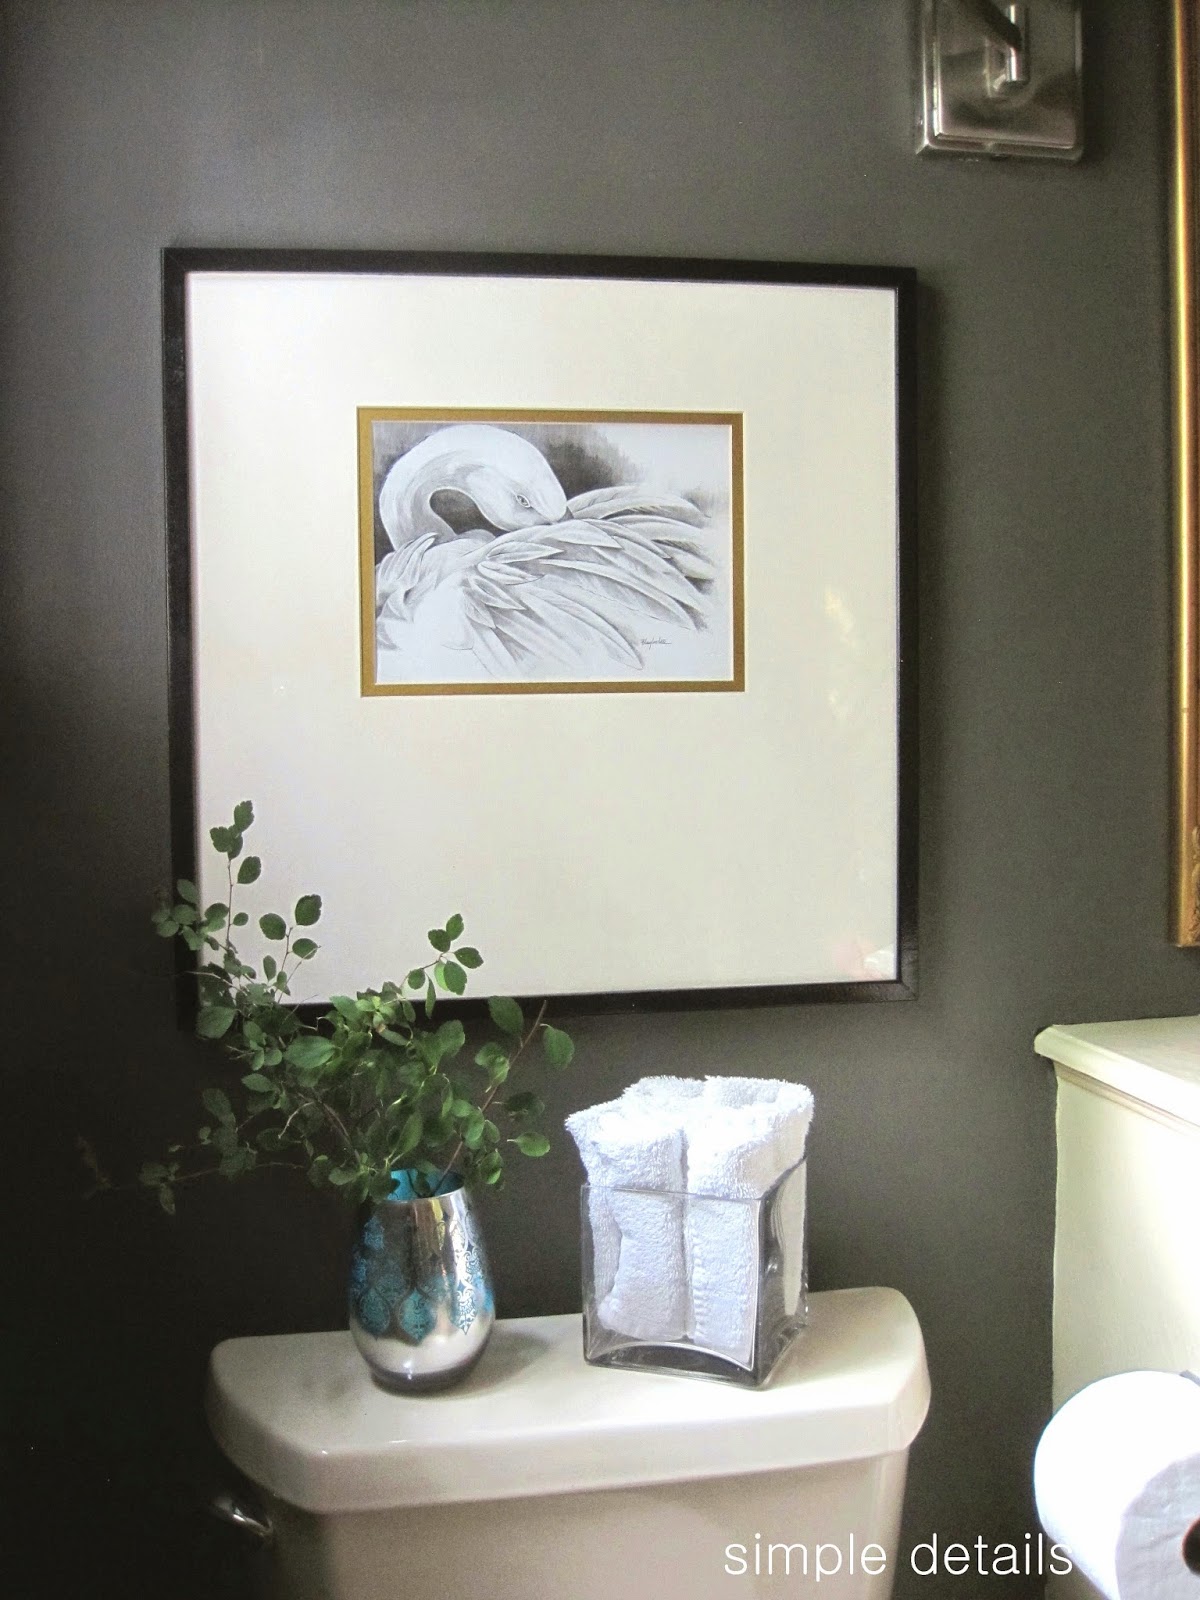

I still love our Hampton Bay Swing Arm wall sconces from Home Depot. 
I gave them a custom look with a simple narrow gross grain ribbon in dark charcoal
 when we first got them. They give off a beautiful glow in the evening. 
As you can tell, our painted vanity and painted fixtures are still holding up great after 
a year and a half.     


More fall tweaking is on the way, are you in the mood for any changes yet? 


Thursday, September 11, 2014

dark moody bathroom on a whim

On my 2014 To-Do List I mentioned I wanted to paint something black, like a room. :)
 On a whim I went for it today, and shared a peek of our bathroom, you may have seen
 it if you follow me on Instagram. I didn't have a plan to paint the bathroom, but I started
 thinking a moody, cozy space would be perfect for fall and winter. Before I knew it it was
 2:00 and I hadn't changed out of my pjs that I wore to the bus stop at 6:30 but my
 bathroom was looking nice and moody. I chose Behr Mined Coal because that's what I
 had in my stash, it's a dark charcoal. I'll share next week, I still have another coat to go!

My talented friends have a love for dark and moody too, and I'm so excited to share
 their beautiful dining rooms are both in the running for
  Apartment Therapy's Color Contest 2014 in the Dark category!
It's fun to check out the other categories as well, and vote for your favorites here. 
 I've featured both of their rooms on my blog and LOVE the different vibe of each one.  


Have a wonderful weekend, friends!


Sunday, June 22, 2014

next project...client f


These sweet clients have been waiting so long to get to the top of my list, 
they are the thoughtful, understanding, patient type that always said, 'No problem, we
 can wait till after your trip to Europe, and then after your One Room Challenge
  kitchen makeover, and then after end of school activities, and then after the wedding,
 and...you get the picture I have strung them out foreveeeeeeeeeer.
 No more!!! Last Friday two bathrooms and a dressing room were gutted, and the
 remodel is underway. If you follow me on Pinterest you may have noticed a lot of pretty
 bathroom pins lately under 'Client F' - I always refer to my client's boards by initials.
 This one is different F = Favorite, and Favorite refers to my parents. :) 

They live in a 1980's custom built home (not by them) much of it has been updated
 but never the baths - big time yikes!! Creamy neutrals and a pretty serene design is
 what we're going for, with some unique hardware and lighting for a custom look.

Inspiration - Bathroom #1 Hall

 Jennifer Schoenberger

They have several bathrooms and this one rarely gets used, allowing us to hang
 artwork on the back wall. We loved the sheer linen panel and the rod extending from
the ceiling. We're using a free standing traditional piece of furniture for the vanity,
 and haven't decided yet if we're keeping it wood tone or painting it a light color.   


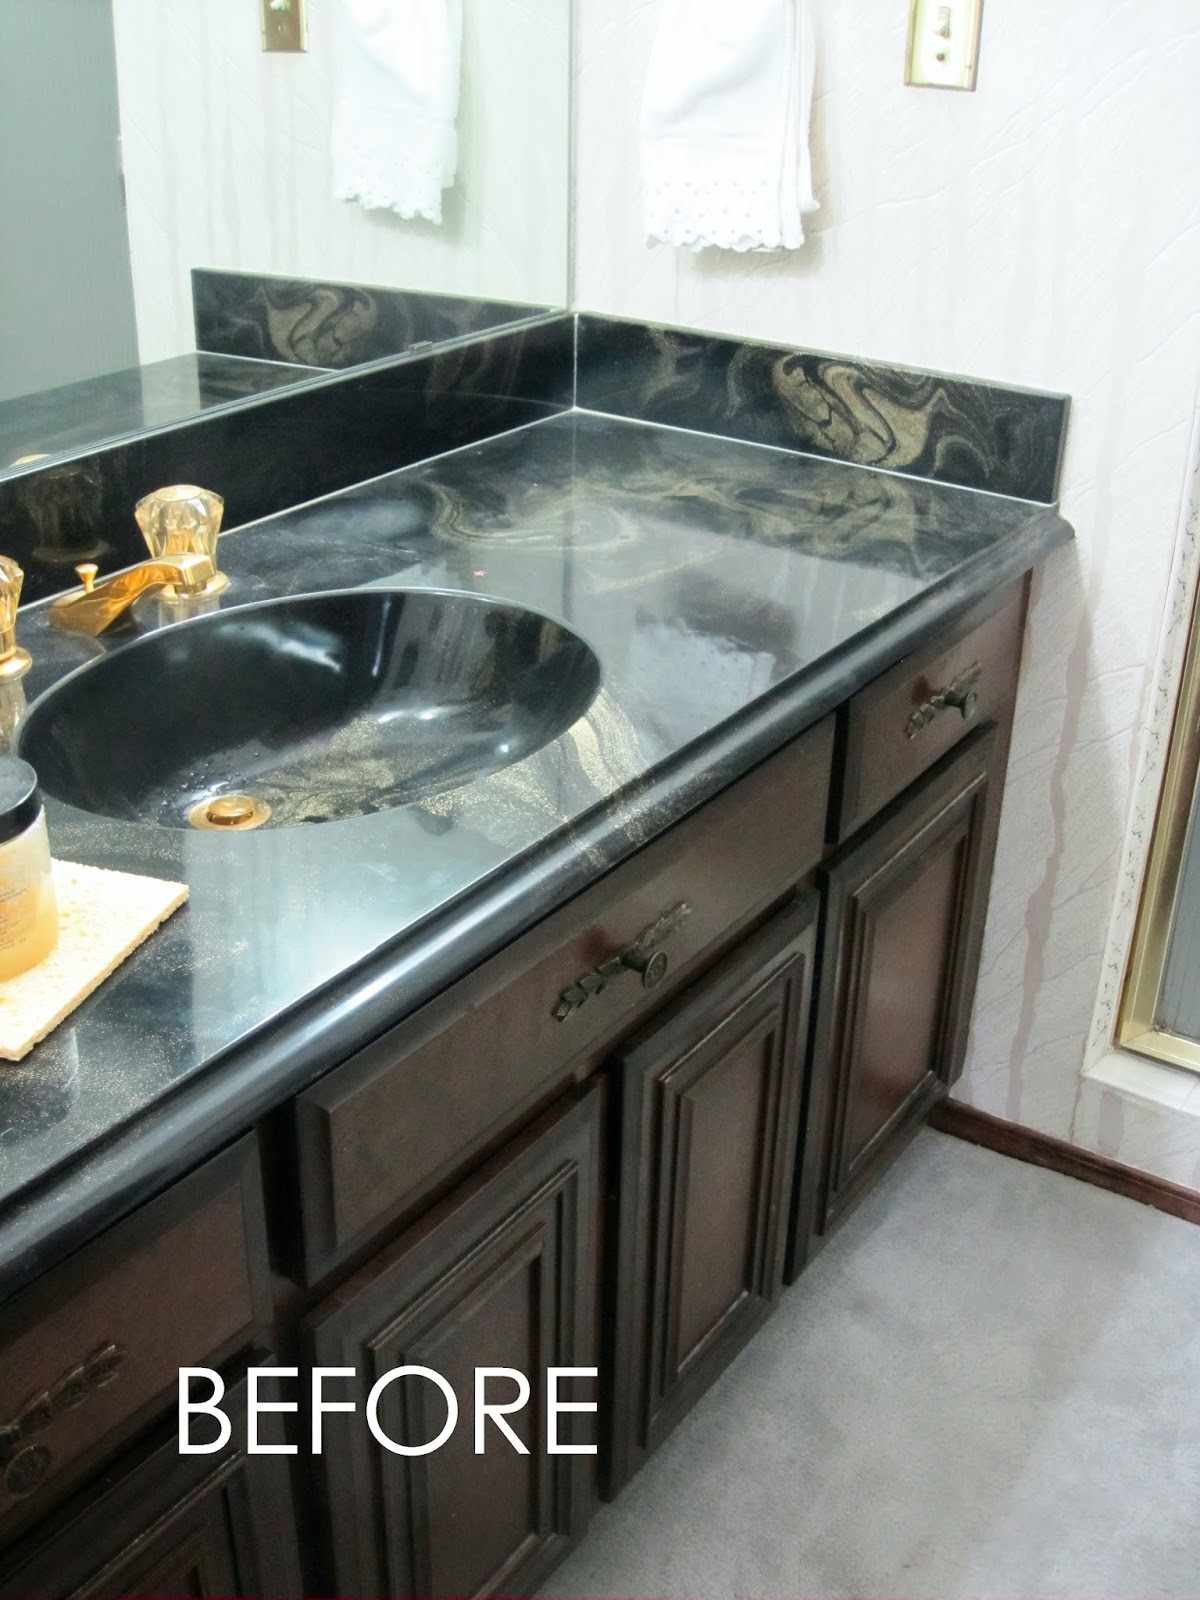
BEFORE:


Inspiration - Bathroom #2  - In the Master Bedroom 

mariakillam.com

We've decided on a half wall at the end of the vanity with frameless shower door
 to give the illusion of a larger open room. A white vanity with oversize decorative
 mirror above helps to accomplish the same.  

mariakillam.com

BEFORE:


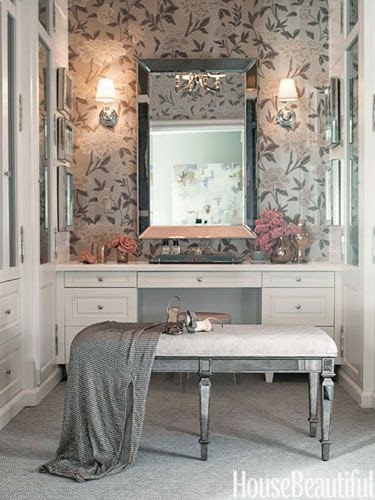
Inspiration - Dressing Room - In the Master Bedroom


We have a white vanity that matches the one in the adjacent bathroom, but are still
 deciding on lighting and some special touches. Maybe a chinoiserie style wallpaper
 or a mural.
    
My mom is going to die when she sees this picture I took, she is super neat and
 clean and was getting everything out of the bedroom and bathroom.

BEFORE:


All of the doors and woodwork will be painted white, tile floors installed in all of
 these rooms and new carpet in the adjoining bedroom.
This week we're finishing up choosing tile, lighting, and fixtures
 and having a blast spending my dad's $$! :)  


Monday, October 7, 2013

fall bathroom and how the painted fixtures are holding up...

Hey everyone, sorry for no Monday post, my One Room Challenge
project I worked on over the weekend ended up being quite the challenge, and at 10:00
 on Sunday evening, (my usual blog writing time) I was DONE!
On my list for today was adding some warm touches to our bathroom for fall and winter.
 I loved the spring and summer look with my pink flamingo, abstract artwork and rug,
 but for now this is the new look...


I didn't intend to change out the mirror, but I found two of these awhile back on clearance
at Homegoods, the plan was to use them above the nightstands in my bedroom, but the plan
changed :) and I knew I could use them for a client, so I kept them. Long story short, one
 was sitting in my living room, and I thought I'd try it. I was waiting to see if I liked it before 
touching up the wall paint, I like it... 


 I love the soft warm glow the swing arm lamps give the the room.


Last week a reader asked how our painted fixtures and shower enclosure were holding up. 
It's been a little over six months since I prepped and spray painted the shiny brass, and
 thankfully they look exactly the same as the day I painted them!
Here are photos taken today of all the areas that get the most wear, the faucets at sink
 and shower, the handles on the shower doors and the track inside the shower. 


 A fun surprise & big thank you to Kate over at Centsational Girl for sharing my simple
 too. She had over 200 projects linked up, the go-to place for fall decorating ideas!


Linking up with Kim @ Savvy Southern Style WOW Us Wednesdays

Wednesday, March 20, 2013

One Room Challenge...Bathroom reveal(s)

YES! We've crossed the finish line!
  My family is so excited I'm letting them back in the bathroom!
I didn't want them to mess it up, and they've been counting down.
   
A HUGE thank you to our inspiring leader and pioneer of the One Room Challenge,
 Linda @ Calling it Home, (formerly My Crafty Home Life)
for keeping us all on track and encouraging us. She's raised the bar higher than I ever imagined, knocking it out of the park with her incredible entry makeover!

I know you guys just want the pictures, so here you go...
(One more thing, if you're new here you should know I love diy projects, and all the updates 
to the bathroom were done on a budget with diy projects.)


Did you notice I said reveals, plural? In keeping with my indecisive personality I couldn't
 choose between neutrals and colorful. A sweet and wise blogger, Kathysue left a
comment, and suggested a bright look for spring/summer and neutral look for fall/winter.
My reply:  Of course! Why does my brain freeze when I'm working on my own projects?
It's why I always choose neutrals, a couple tweaks and you have a new look...perfect
for those of us who like to change it up!
                                            
Spring and Summer look...

                                          
I started by painting wide stripes in Powell Buff and Navajo White.
 I always justify buying something fun with the $$ I save doing diys. Thank you, Kerry Steele
for my new abstract! I love that it brought in some of the colors from my flamingos.
 Yes, the ones that were in the dining room, changes coming soon.
I used my favorite lacquer like paint treatment...again...to bring some life back to the vanity! 


I changed out the sconces for Swing Arm Lamps from Home Depot and added trim detail.
My Urban Outfitters Tiered Pendant makeover is in the Fall and Winter photo session!


DIY Valance and Roman Shade - tutorial in the works.


 I was tickled pink :) when I found these rugs on the clearance rack at TJ Maxx.
 I sewed two 20" x 33" rugs together to get a 5 1/2 ' runner.


The blue vase and glass plate were thrifting finds from long ago. 
I'm sure you weren't expecting a Costco recommendation, but I love fresh white washcloths
to remove my makeup, after washing these are soft and fluffy. $12 for a package of 24,
 split one with a friend. The littlest things make me happy!  


BEFORE


I'm so glad I tried it, I'll let you know how it holds up.
Detail boy asked why his stump side table was in the bathtub. 
Btw, you still have time to grow some wheat grass for Easter.

Fall and Winter look...


Pretend the tulips are fall branches. :)
I changed out the lively artwork, rug, and a couple accessories on the vanity.
I had all of the art, the flamingo print was a free image from the NYPL Digital Gallery,
We use an old umbrella stand as our wastebasket, that's the laundry shoot. 


This West Elm Chevron patterned rug in gray and tan will replace the bright one.


DIY Urban Outfitters Tiered Pendant Makeover


Detail boy also asked if that piece of wood was staying on our vanity. 


Do you have a favorite?

Thank you so much for following along, and your kind comments over the past six weeks.
I've been so behind on my thank yous to all of you, but I truly appreciate all of your
 encouragement, especially when I tackle something like the bath fixtures! 
  
I'm so anxious to see what these wonderful blogging friends have for us today!
Have fun checking them out!


Linking up with these fabulous blogs:

Stephanie Lynn @ Under the Table and Dreaming Sunday Showcase Party
Kim @ Savvy Southern Style WOW Us Wednesdays
The Craftberry Bush - The Inspiration Gallery
Sarah @ Thrifty Decor Chick April Before & After Party
Nita @ Mod Vintage Life - Mod Mix Monday

Sunday, March 17, 2013

painted faucets & shower enclosure...

Goodbye ugly shiny brass,
 hello diy painted faucets and shower enclosure in Satin Nickel!
My last diy for the One Room Challenge is off the list - woo hoo!
 I changed my mind last minute and decided on the nickel finish, the
gold looked a little too faux, instead of the aged brass I was hoping for.
For the full bathroom reveal go here.


I combined parts of two tutorials, I chose to use the same Rustoleum product that
Sherry from Young House Love used on all her hardware, she had great results, it's been
 over a year and they still look perfect. I used the procedure for the shower enclosure
(removing caulk and taping) that Kristy at Addicted 2 Decorating  shared on her redo.

PRODUCT
Rustoleum Metallic Paint & Primer in One - Satin Nickel
220 Grit Sandpaper
150 Grit Sandpaper
TSP  Cleaner as de-glosser


PRICE
3 cans Rustoleum Paint @ $7.28 ea = $21.84

PREP
Remove all existing caulk from shower surround, you won't get a clean paint
line, if you don't remove it. I found a razor blade worked best.

Sand all surfaces well, I started out using 220 grit sandpaper, and ended up using 150 grit,
 because it was faster and Sherry said you don't see any scratches after you paint.
 It's more fun if you have a friend to keep you company!


Clean debris from sanding and wipe with TSP cleaner as a de-glosser.


Tape off fixtures and areas to be painted and cover ALL exposed surfaces.


PROCEDURE
Just basic spray painting, 3-4 light coats of paint, following manufacturer's instructions
 for re-coating time, I waited anywhere from 5 minutes to an hour depending on what I had
going on.

PROBLEMS
Learn from my mistakes! I was impatient and applied more than a light coat in an
attempt to cover the area more quickly...bad idea...runs and drips = more work!
Let dry, sand the mistake away, and apply four light coats!

Over spray cleans up nicely with a razor blade.

I turned the bathroom fan on to help with ventilation, I'm pretty sure it contributed to a fine
 dusting of paint throughout the nearby rooms, it cleaned up easily, but next time I'll stick
with the open window!

When your doors are overlapped, don't forget about those hidden areas!
See the gold strip I missed...ugh!

Neither of the other tutorials mentioned this, but it doesn't have a smooth satin feel
that I was expecting. I may give it a of coat clear spray for a nicer feel, I'm going to try
 a sample.

It's really not difficult, but the prep is a bugger,
removing the caulk took a few hours (interrupted, of course). Sanding was easy,
and the tapping off took much longer than anticipated.  The painting was quick, but you
need to keep in mind you most likely won't be able to paint everything in one day.
For example, the track, you'll need to move the doors from side to side, allow drying
time and re-taping some areas.

I'll keep you up to date on the all important question...
how well does it hold up?


Related Posts Plugin for WordPress, Blogger...
 
Pin It button on image hover